1 - Installation
Step 1 | Download and Install Node.js
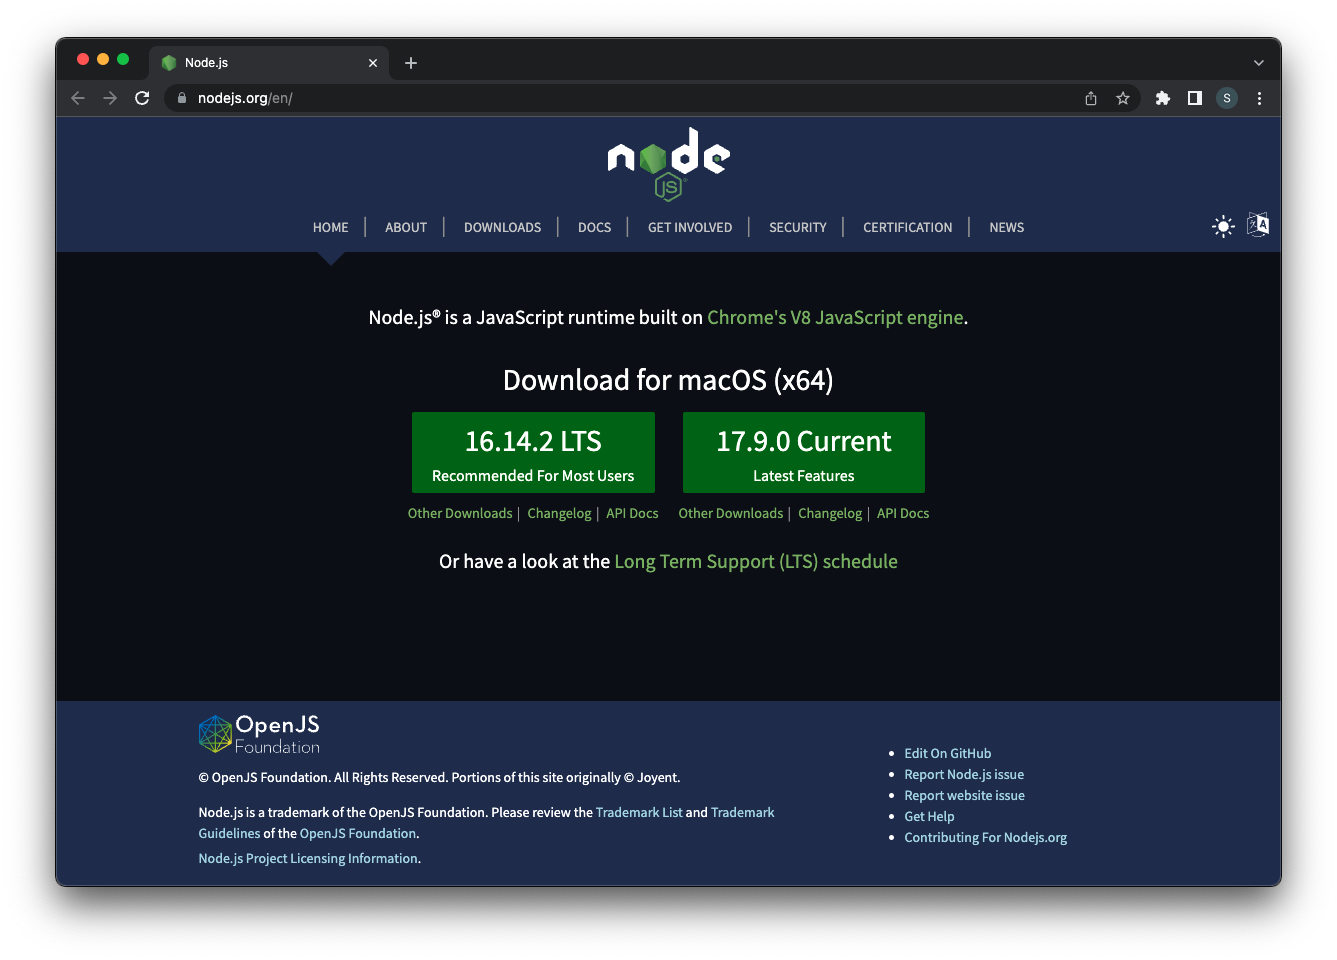
Download the latest Node.js LTS version (currently v16.14.2) on the official website https://nodejs.org/.
Alternative Step 1 | Install Node.js using CLI
Alternatively, you can also install Node.js using a terminal.
curl -sL https://deb.nodesource.com/setup_16.x | sudo -E bash - && sudo apt-get install -y nodejschoco install nodejs-ltsbrew install node@16Step 2 | Install yarn
In this step, we will install yarn on your system. Note that npm can also be used if you prefer to do so.
Once done installing Node.js with Step 1, run these three commands:
1. Confirm that you have Node.js installed.
node --version- Should output the current Node.js version.
2. Install yarn globally.
npm install -g yarn- Should install yarn.
3. Check that yarn is correctly installed.
yarn --version- Should output the current yarn version.
Step 3 | Download our minimal Angular app
Here you will find a minimal viable product, including the necessary boilerplate code for starting your ScheduleJS project.
> Download our example Angular project
Once you have it, extract the project folder from the archive, open it up with your favorite IDE and navigate to it with a terminal using the following command:
cd /path/to/demo-schedule-jsAlternative Step 3 | Add ScheduleJS to an existing project
Check ScheduleJS project dependencies and their version.
You can add ScheduleJS to an already existing Angular project. However, ScheduleJS uses a specific Angular version, and you may have to update your dependencies to match the required versions.
You can check this package.json file listing the minimal packages and their required version for running ScheduleJS.
{
  "name": "schedule-js-requirements",
  "version": "0.0.0",
  "scripts": {
    "ng": "ng",
    "start": "ng serve",
    "build": "ng build"
},
  "private": true,
  "dependencies": {
    "@angular/animations": "11.2.3",
    "@angular/cdk": "11.2.2",
    "@angular/common": "11.2.3",
    "@angular/compiler": "11.2.3",
    "@angular/core": "11.2.3",
    "@angular/forms": "11.2.3",
    "@angular/platform-browser": "11.2.3",
    "@angular/platform-browser-dynamic": "11.2.3",
    "@angular/router": "11.2.3",
    "@js-joda/core": "3.2.0",
    "@js-joda/locale": "3.2.2",
    "@js-joda/timezone": "2.5.0",
    "crypto-js": "4.1.1",
    "rxjs": "6.6.6",
    "tslib": "2.1.0",
    "zone.js": "0.11.4"
},
  "devDependencies": {
    "@angular-devkit/build-angular": "0.1102.2",
    "@angular/cli": "11.2.2",
    "@angular/compiler-cli": "11.2.3",
    "@types/jasmine": "3.6.4",
    "@types/node": "14.14.31",
    "typescript": "4.1.5"
  }
}
Step 4 | Install the ScheduleJS module
The first step is to add the 'local_modules' folder containing ScheduleJS in your project folder.
Then, position a terminal at the root of your project folder (/path/to/demo-schedule-js/), and link ScheduleJS to your app using the following command. This command will also install all required dependencies.
yarn add file:./local_modules/scheduleStep 5 | Enter your license key
The last step consists of enabling the library in a NgModule file. This step consists of specifying the licence key you received in the Angular application. Doing so will grant you access to all our Angular components out of the box.
Here is an example Angular root module located in .../src/app/app.module.ts.
import {NgModule} from "@angular/core";
import {BrowserModule} from "@angular/platform-browser";
import {Locale as BaseLocaleEnUs} from "@js-joda/locale/dist/prebuilt/en-us";  // Import from @js-joda
import {LicenseManager, Locale, ScheduleModule} from "schedule";               // Imports from ScheduleJS

import {AppRoutingModule} from "./app-routing.module";
import {AppComponent} from "./app.component";

@NgModule({
  declarations: [
    AppComponent
  ],
  imports: [
    // Angular modules
    BrowserModule,
    AppRoutingModule,
    // Custom modules
    ScheduleModule
  ],
  providers: [],
  bootstrap: [AppComponent]
})
export class AppModule {

  readonly licenseKey: string = "<Your license key>";        // Provide your license key

  constructor() {
    Locale.updateDefault(BaseLocaleEnUs.US);                 // Default timezone informations for ScheduleJS
    LicenseManager.setLicenseFromKey(this.licenseKey);       // Use your license key
  }

}
You're all set! Let's get started in 2 - Tutorial.